
Connect with us


Will Smith and Diddy are two of the biggest names in entertainment today. Known for their undeniable talents, personalities, and influence, the duo has shaped the...


Discover the heartwarming magic of Disney’s Encanto cast, a tale of family, love, and power. Explore the unique talents and roles that made this animated film...


Writing for soul search is an incredibly powerful tool that can guide individuals through life’s most profound transitions, helping them gain clarity, inner peace, and a...


Finding the right practical support tools can dramatically improve your productivity and help you tackle everyday challenges. Whether you’re an entrepreneur, a remote worker, or a...


Zpv bsf bxftpnf in words is a phrase that has piqued curiosity among many internet users. Its cryptic nature can confuse even the most experienced word...


Polo is a fast-paced and demanding sport for both riders and their horses. For those who engage in polo, ensuring your polo horse is in peak...
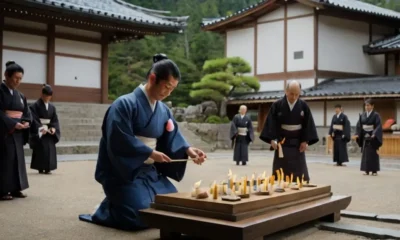

Matsumoto Hoji is a deeply rooted tradition in Japan that has stood the test of time. Known for its cultural significance, religious practices, and historical importance,...


The “3 L’s” are a simple but powerful concept that can help guide individuals and businesses toward achieving greater success. Whether you’re striving for personal growth...


Staying ahead of the curve is essential for businesses and individuals alike. One tool that has been gaining attention for its ability to improve productivity and...


Breaking up with someone over a specific reason, especially something like piercings, can feel trivial or even shallow to some, but for others, it can be...